
Or the adventures of local and remote…
The big difference with Dreamweaver is that you have a local copy, and a remote copy of everything. This can seem a bit confusing at first, but once you understand how these options work, it becomes much easier.
This guide is split into two parts
- A primer on the files panel, which explains what all the buttons do for working with files
- How to actually manage the local and remote stuff, which explains how you can make sure you have the new version of everything when you start up, and how you can update the sections you’re working in.
A primer on the files panels
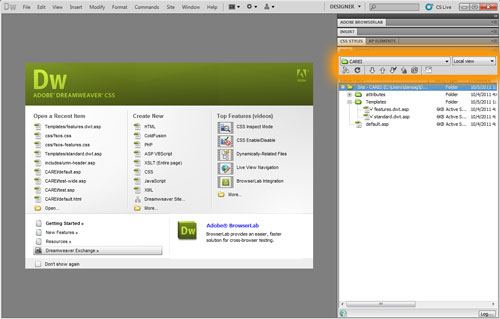
To start with, head over to the files panel on Dreamweaver, emphasized in orange here… Don’t see it?
Windows: Press the “F8” key to open the files panel.
Mac: Press “command + shift + f”
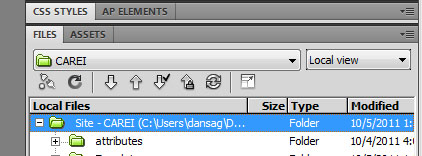
Or if we zoom in..
Ok, so you have all of these buttons, what do they all do? Let’s work left to right, top to bottom.

Site Picker: right now this one says “CAREI”, that’s because I’m working on that site. If you only have your department or center to work on, you’ll never really need to worry about this thing. If you have a couple (maybe you have a center that is outside of your department web site, such as “cehd.umn.edu/bills-research”)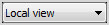
View Picker: remember, with Dreamweaver we have the local copy (local view), and the copy on the server (remote server), this just lets you pick which you’d like to view..
Server connection (the little plugs): Tells Dreamweaver to connect to the server.
Refresh (single arrow, eating it’s own tail): Really just refreshes the view… maybe if you think there are some new files on the server, and you aren’t seeing them.
Get (down arrow): Get whatever you have selected (a file, a folder, the whole site) from the server.
Put (up arrow): Put whatever you have selected (a file, a folder, the whole site) on the server.
Get and checkout (down arrow with a check): Gets, and checks out..
Put and check in (up arrow with lock): Puts files, and checks back in.
Synchronize (two arrows following each other): This is a handy tool
How to actually manage all those files.
Ok, you understand what all the buttons do… so how do you make the best of working on your sites. Here is what works best for me..
When you open up your site, just…
- Click the sync button , it will pop up a dialog button asking how you want to sync.
- Set it to
- sync the entire site
- get newer files from remote
- and delete local files not on the remote server
- Which looks like this…
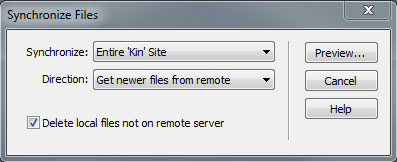
- And now you’ve made sure the whole site is the same both on your local computer, and on the server.
Once that’s done, how do you just do one section?
So, once that’s all done, and you’re in the site working on a section, if you want to copy it back up to the server, you can just select the folder you’ve been working on, and put and check in ![]() that one folder.
that one folder.
- That did a couple of things
- It made sure everything you did is back up on the site
- and it made sure it’s all checked in, so any editors you have won’t run into problems with files being checked out
Dude! I want more details!
Sweet! Here are more details on synchronization.